Testing the William Optics GTF102 on the M Zero mount
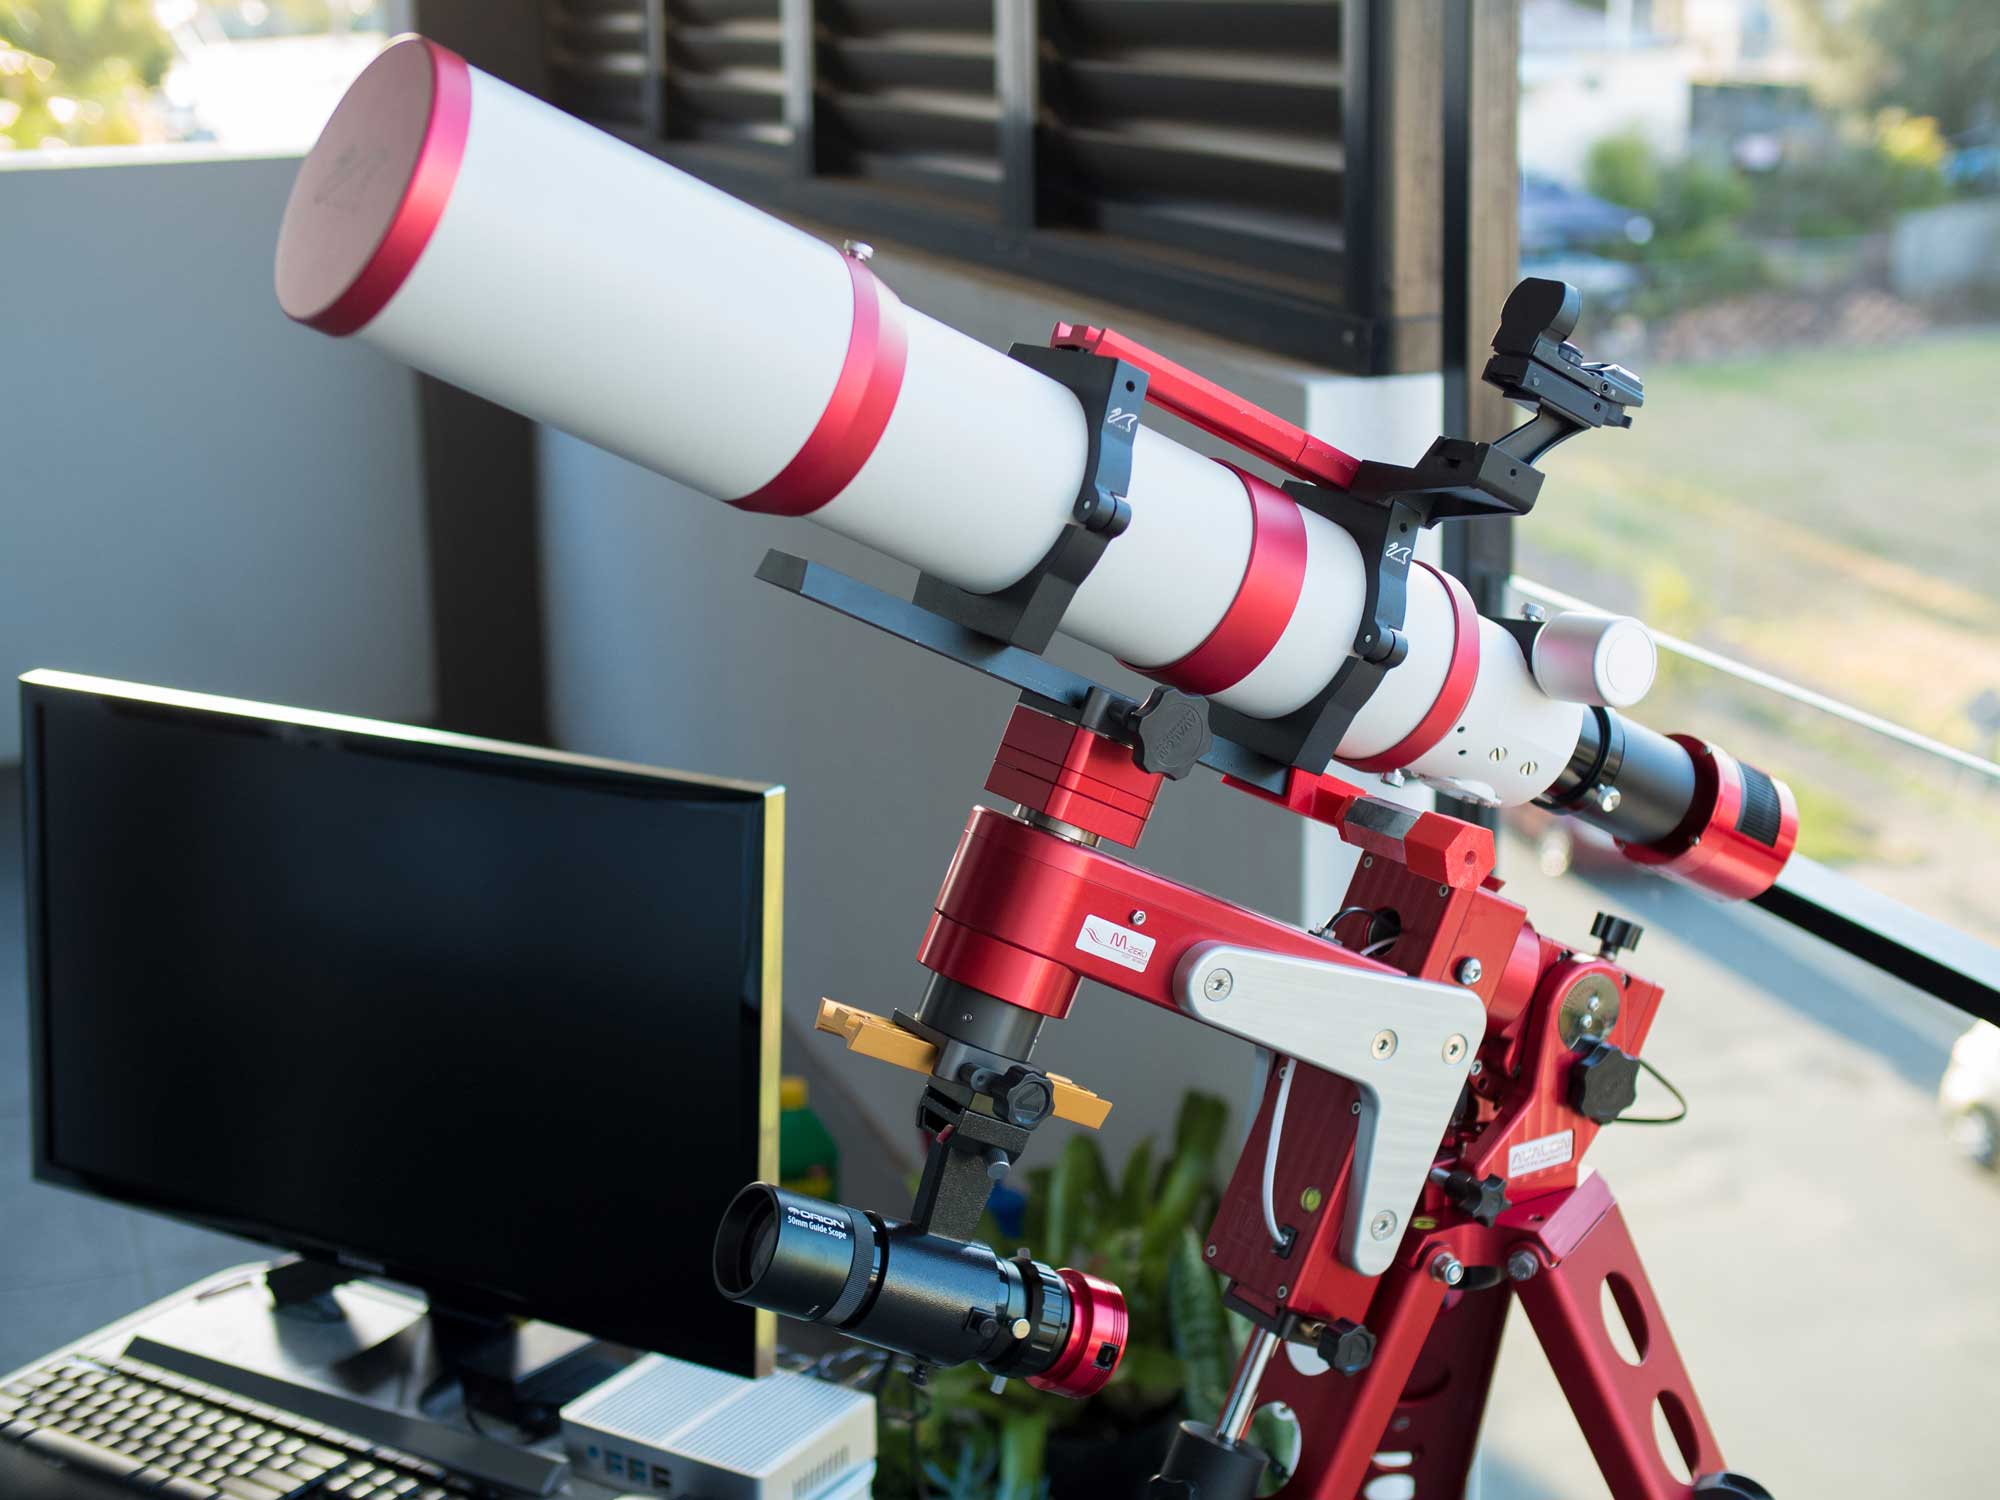
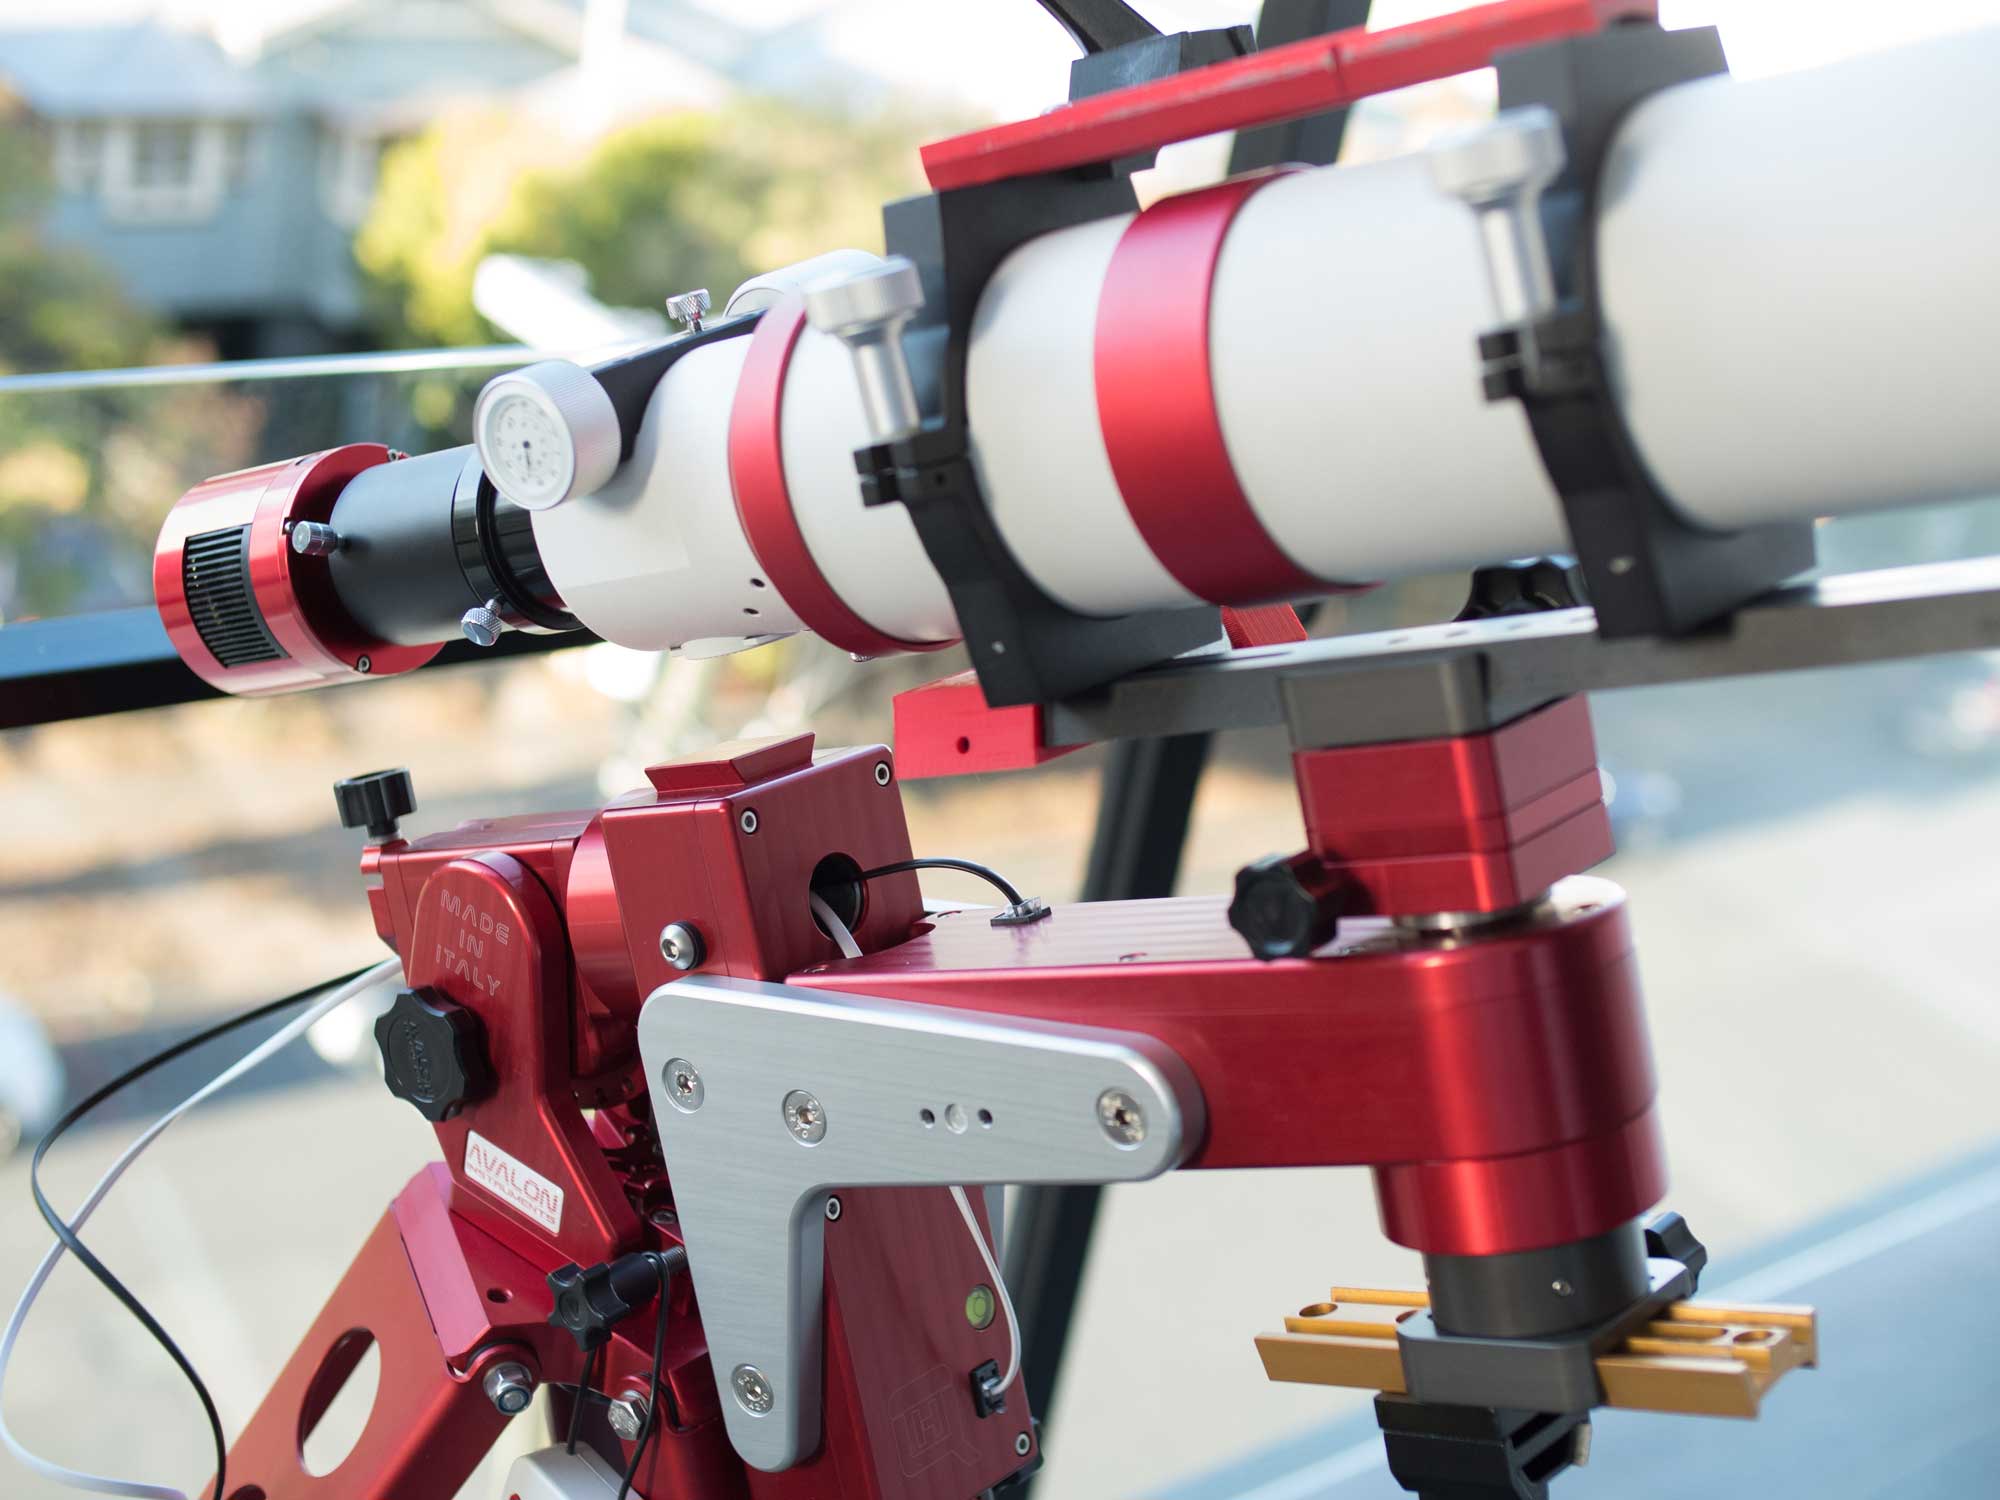
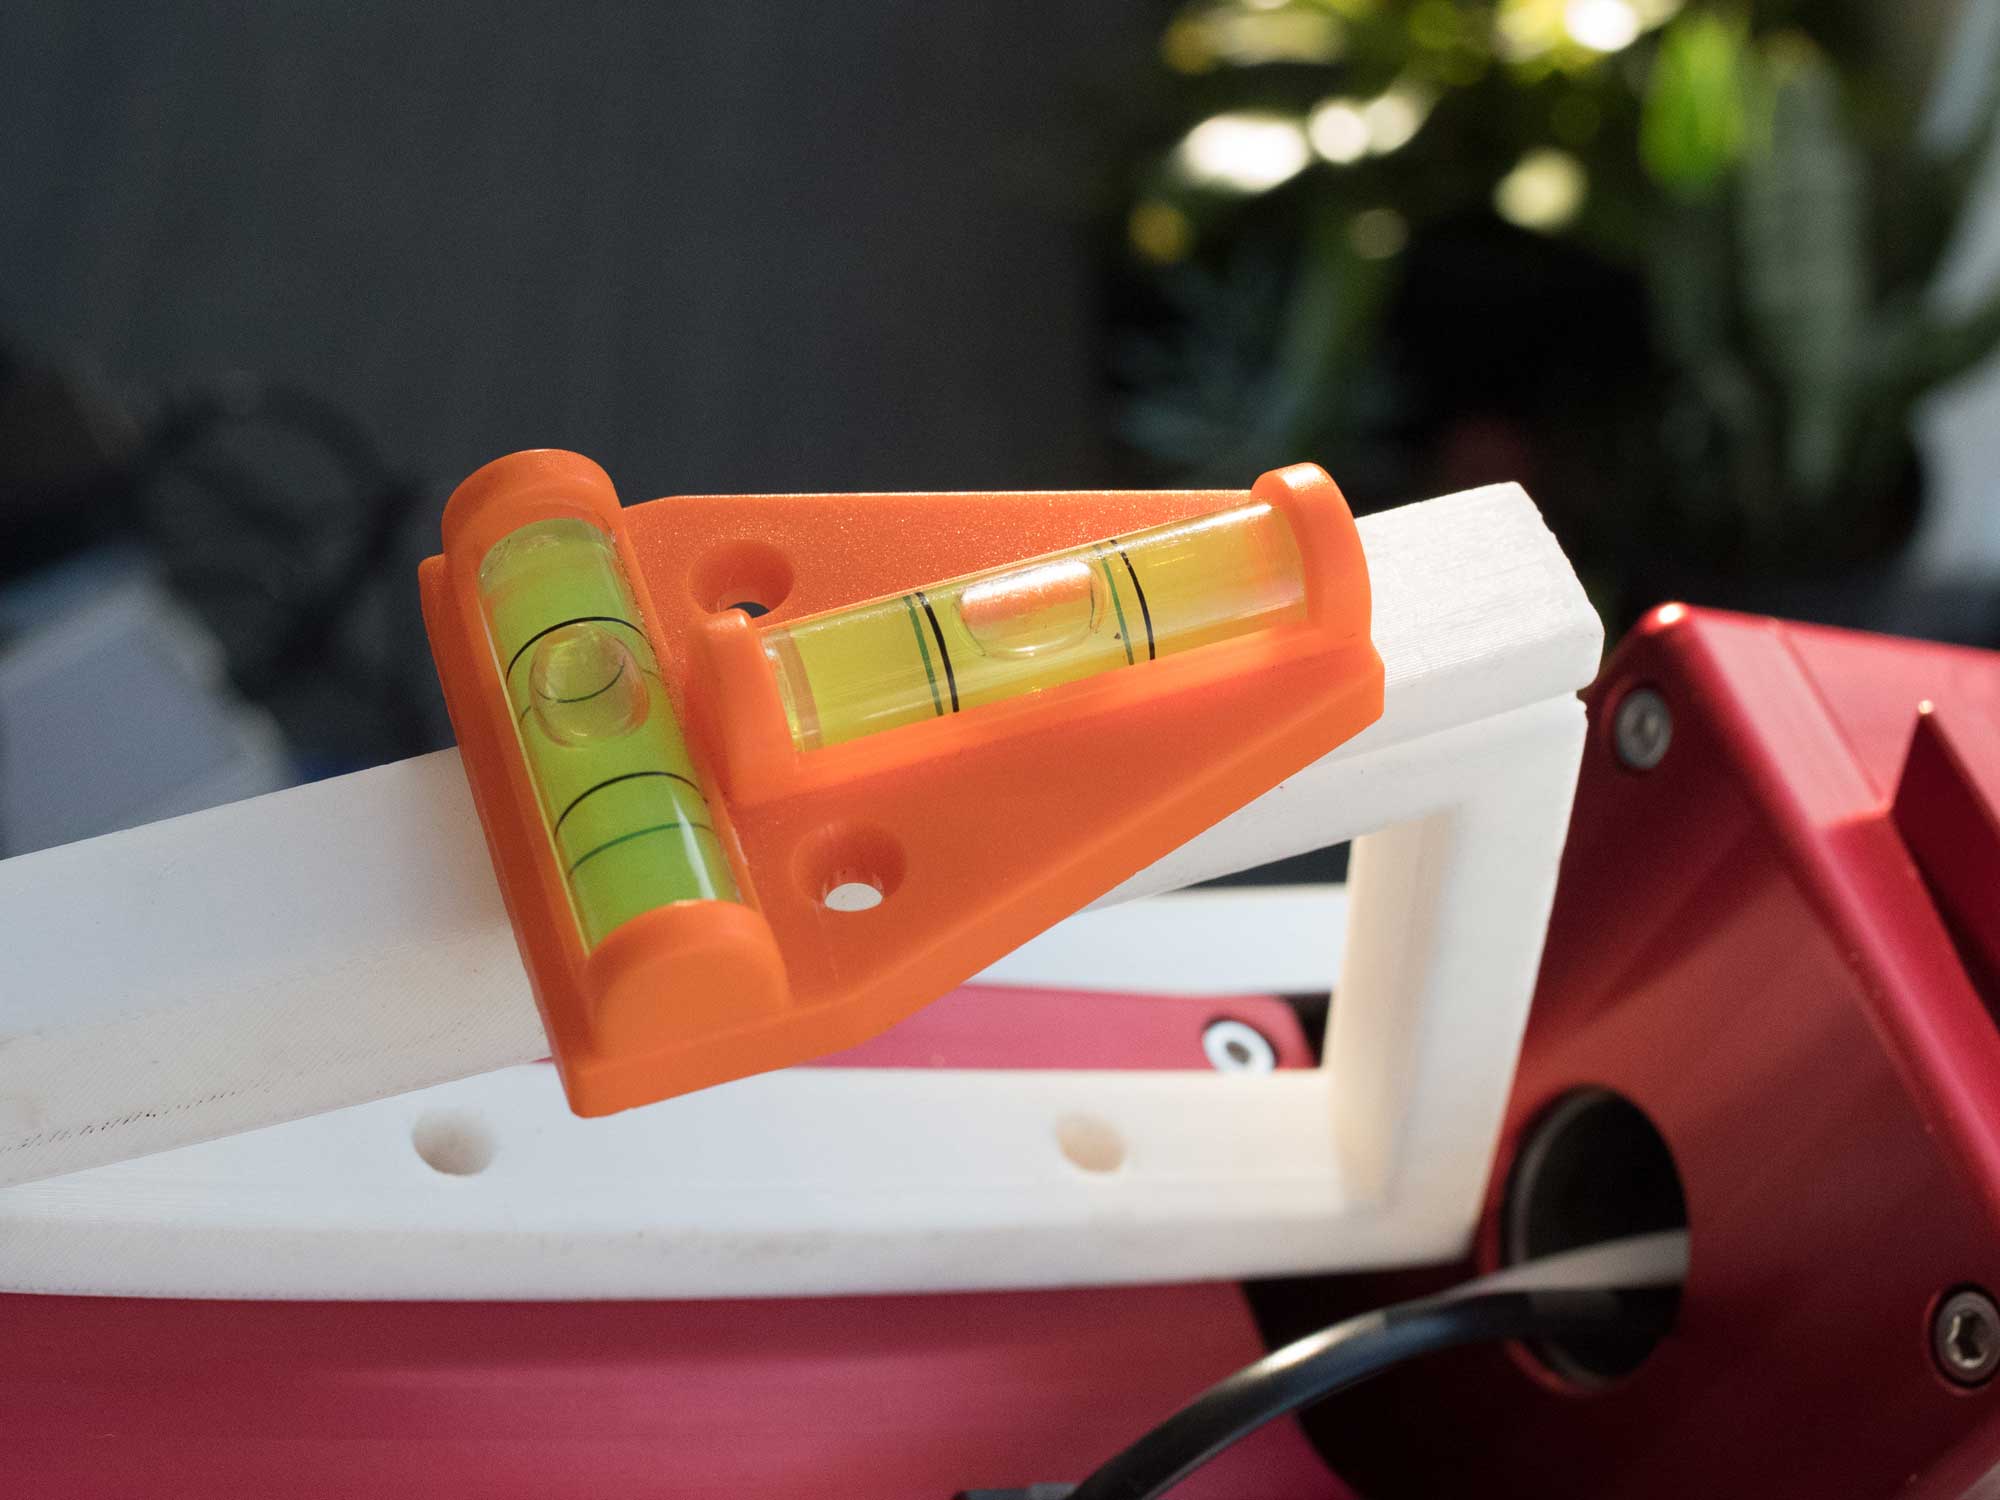
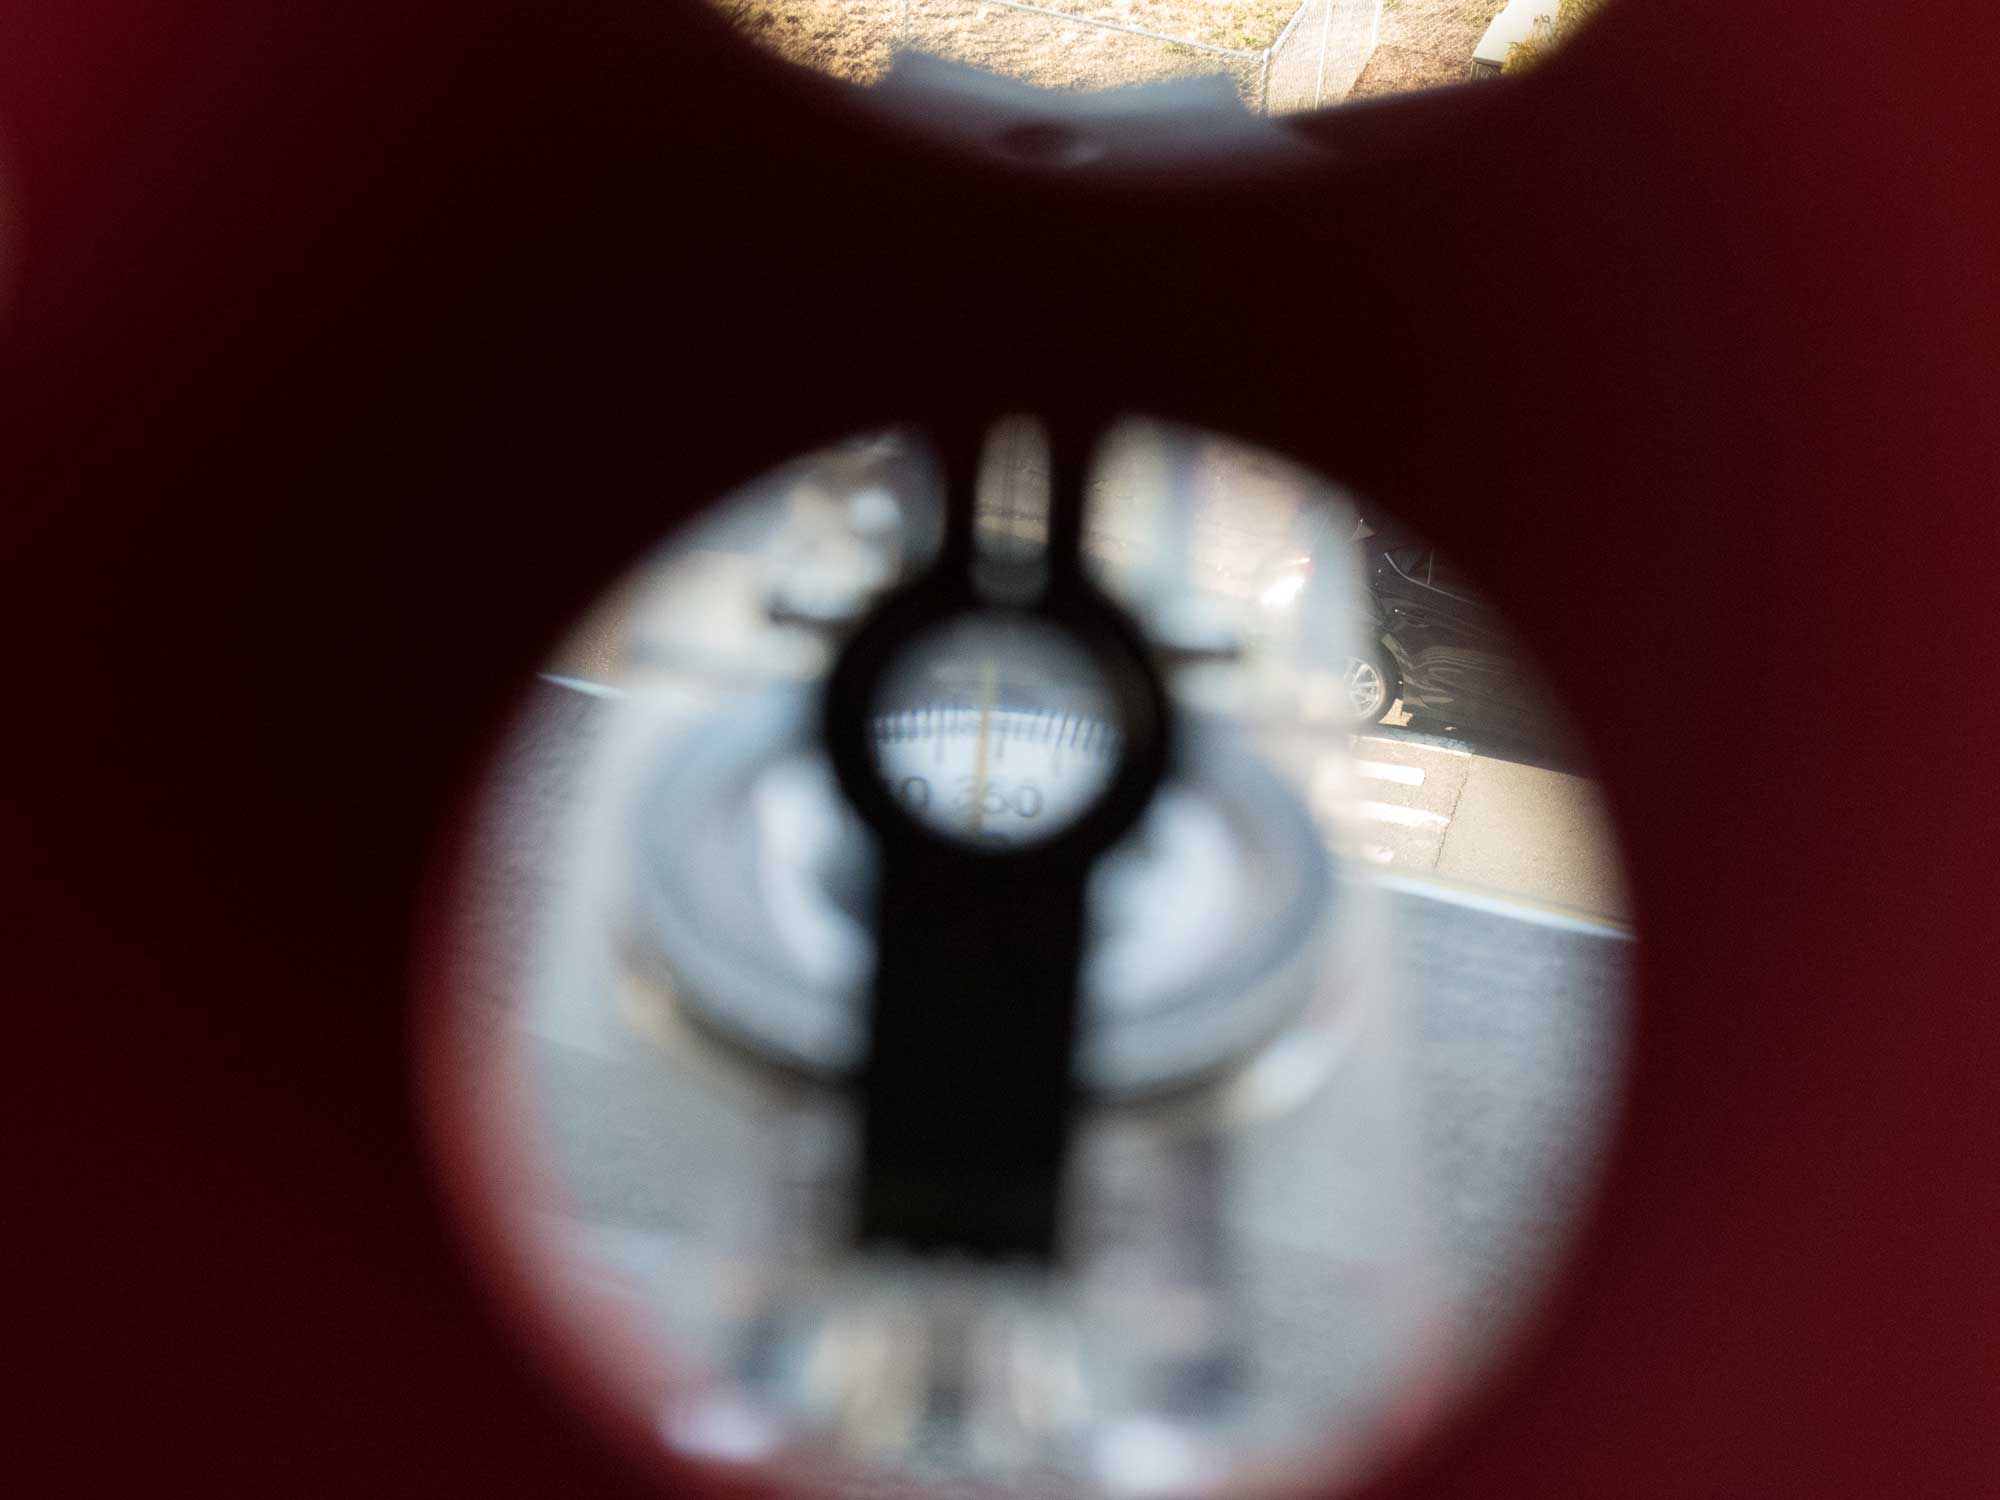
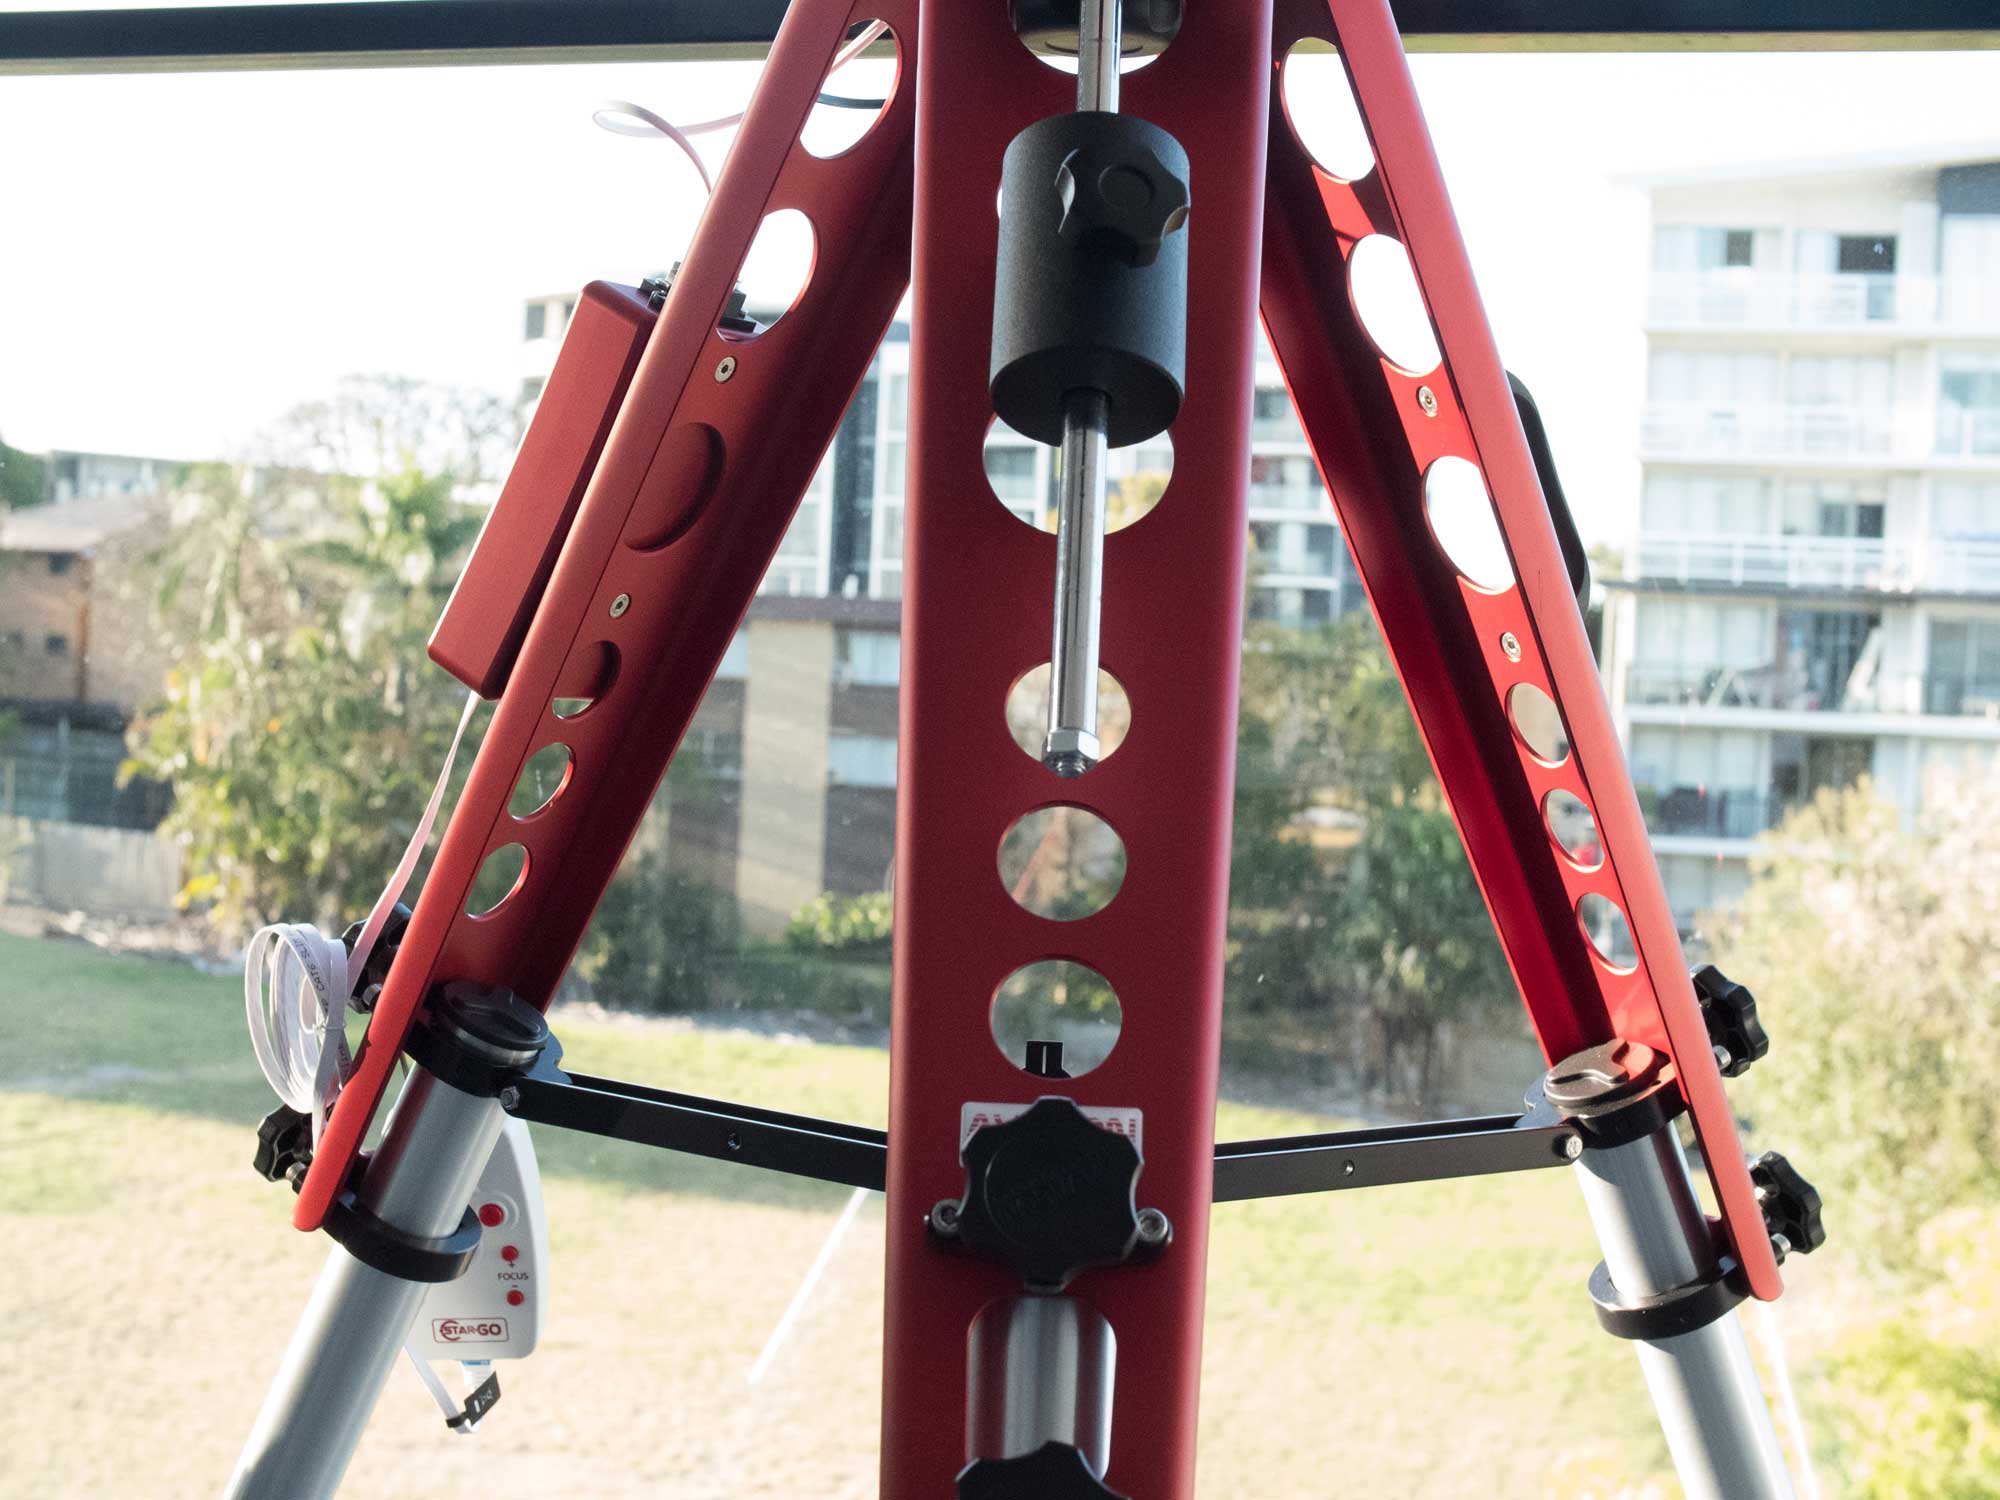
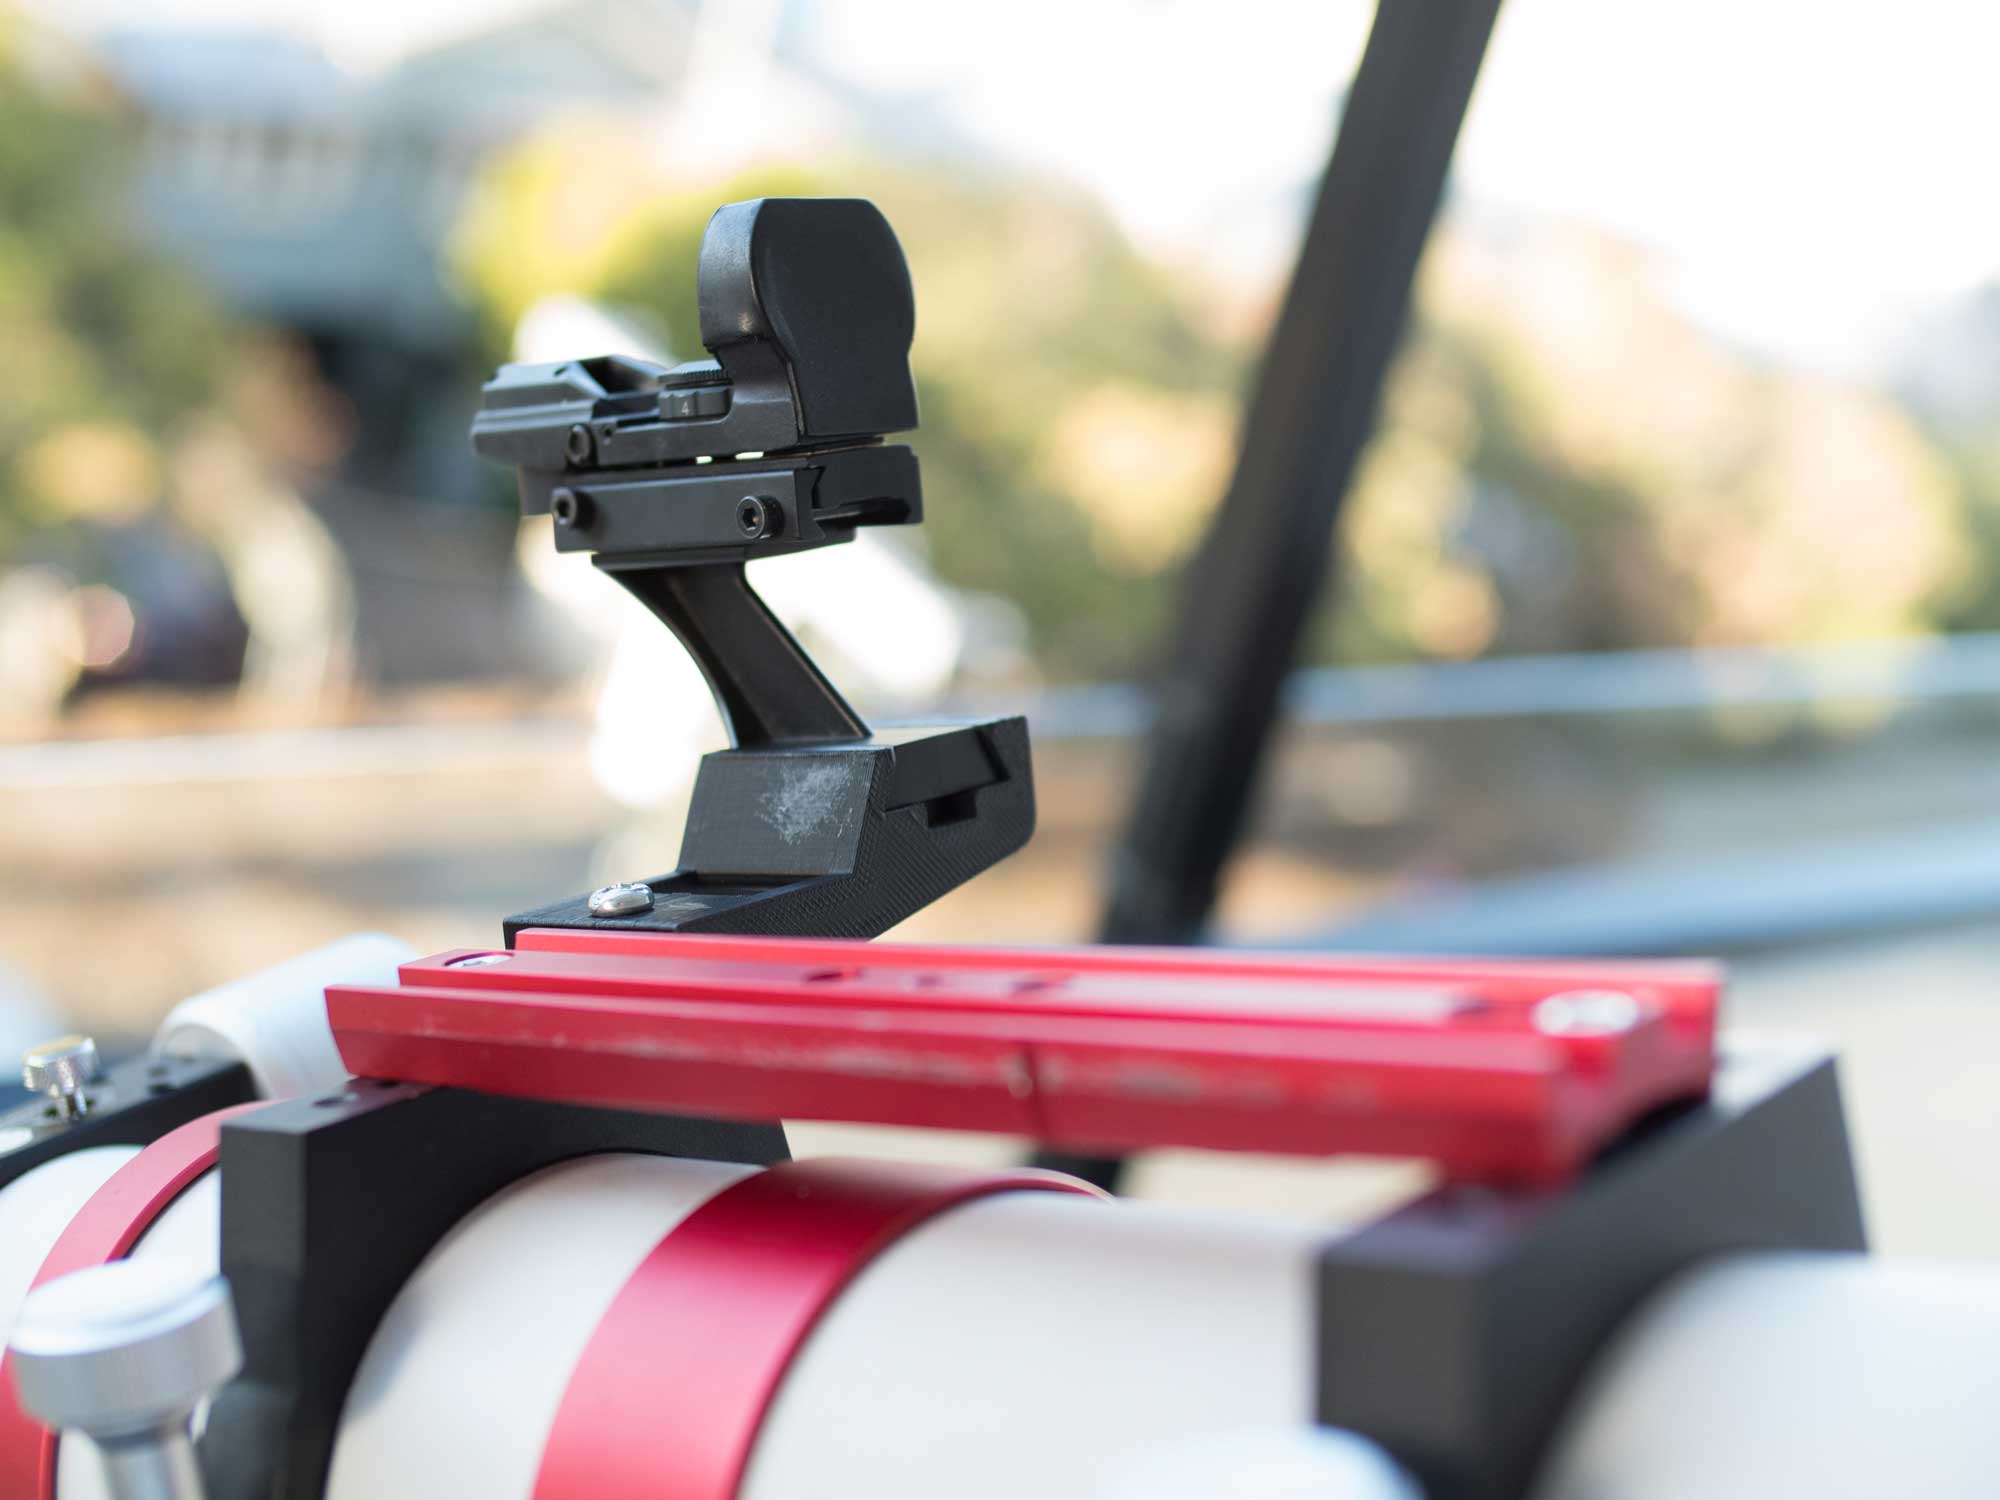
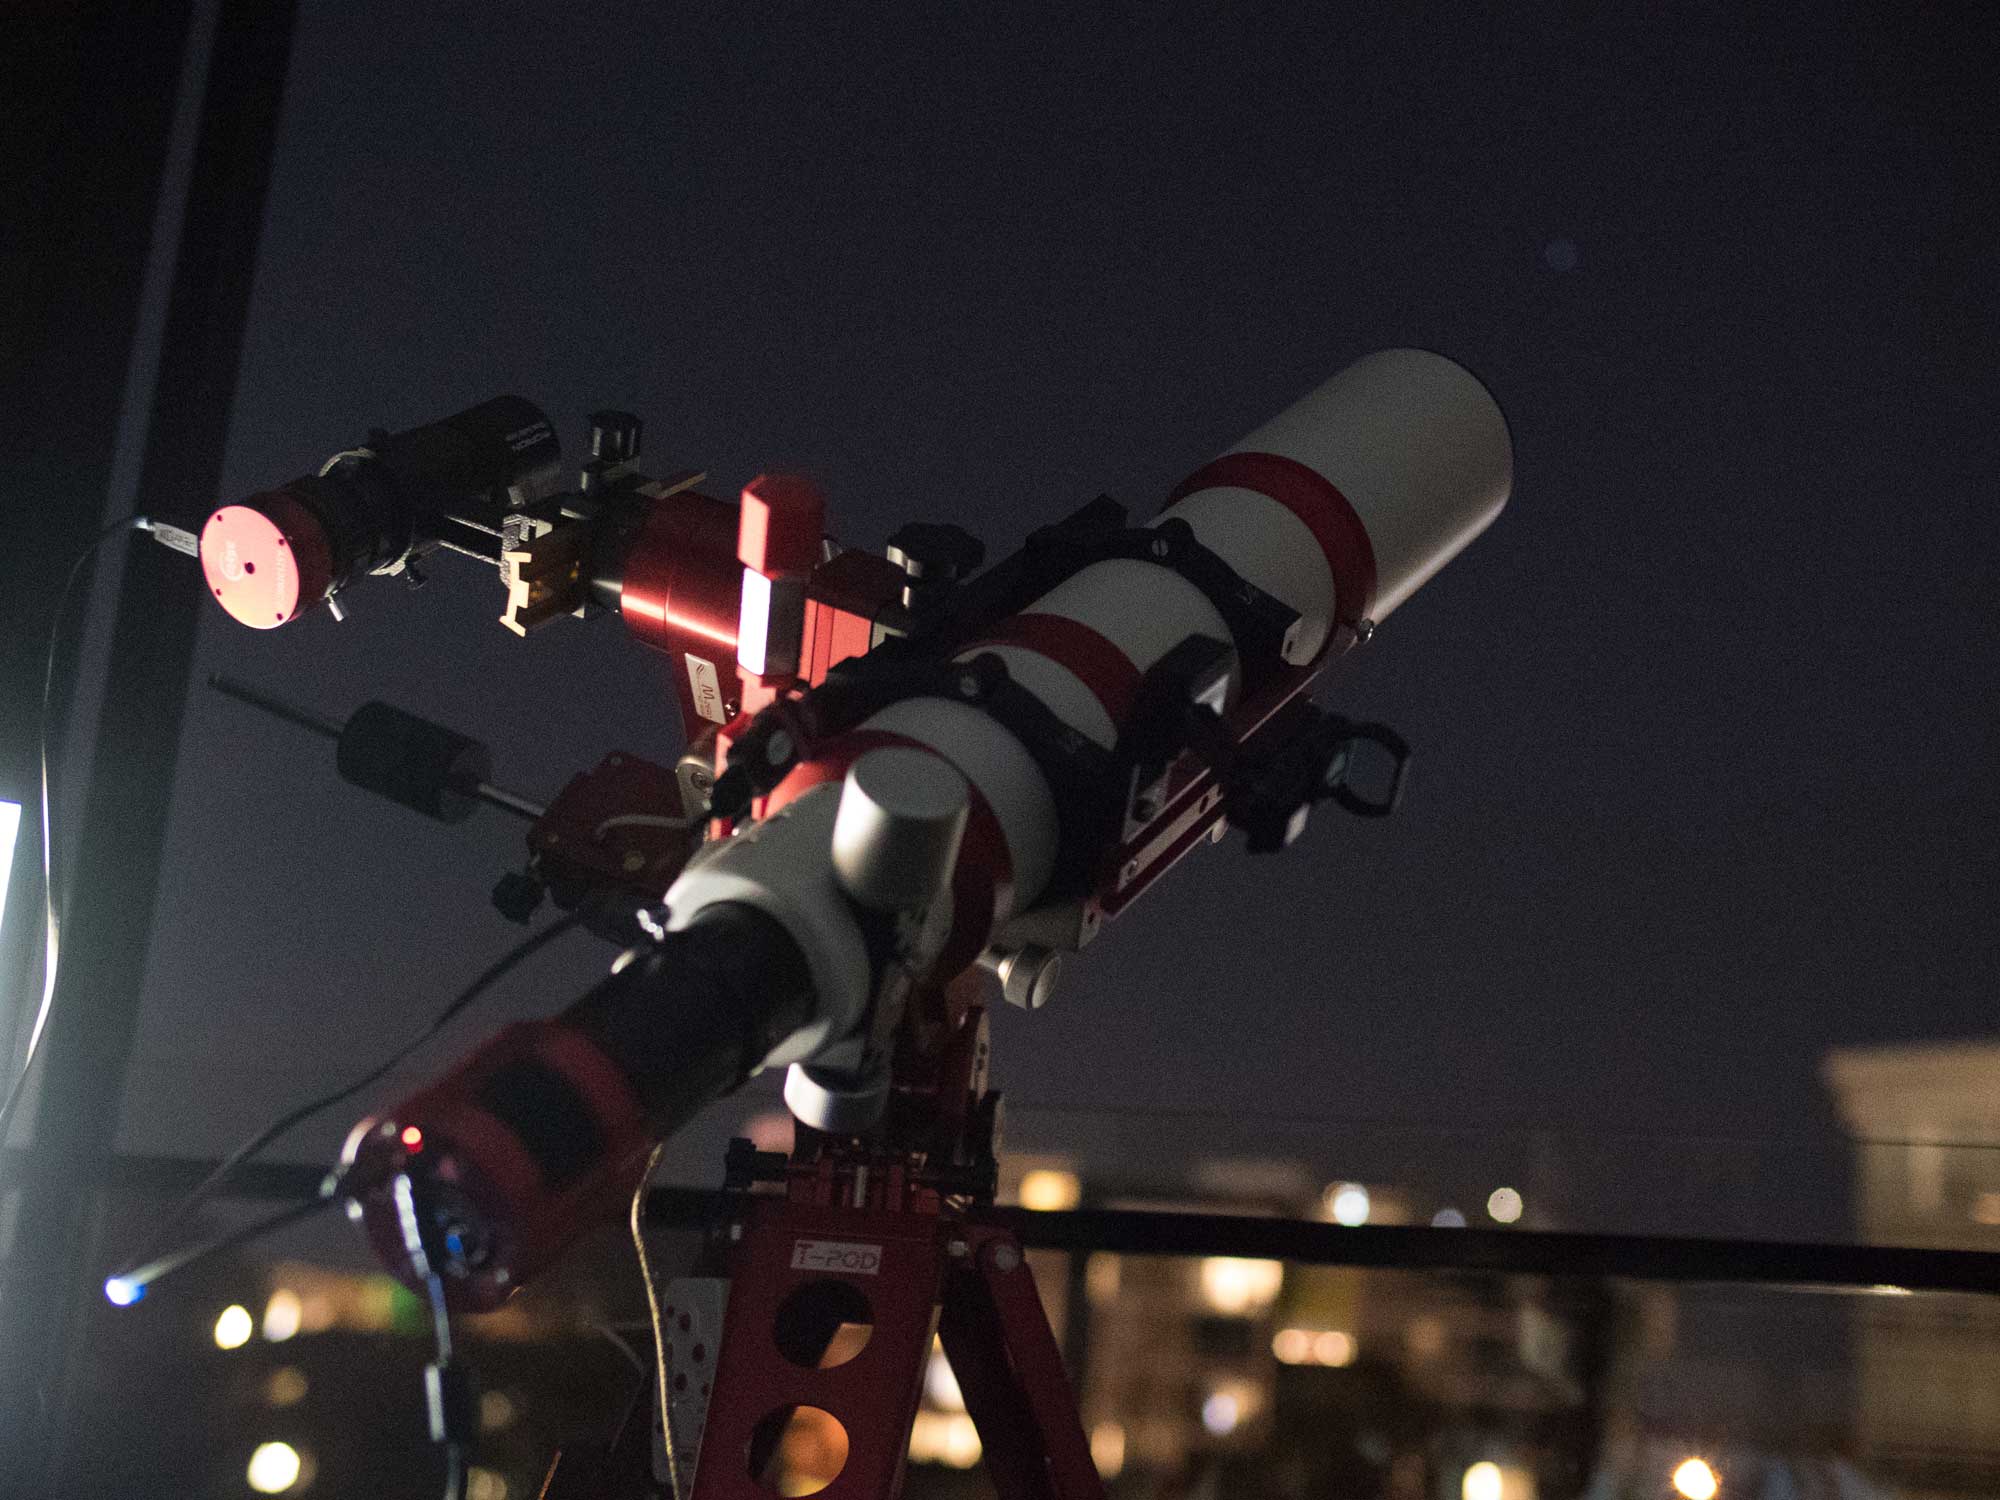
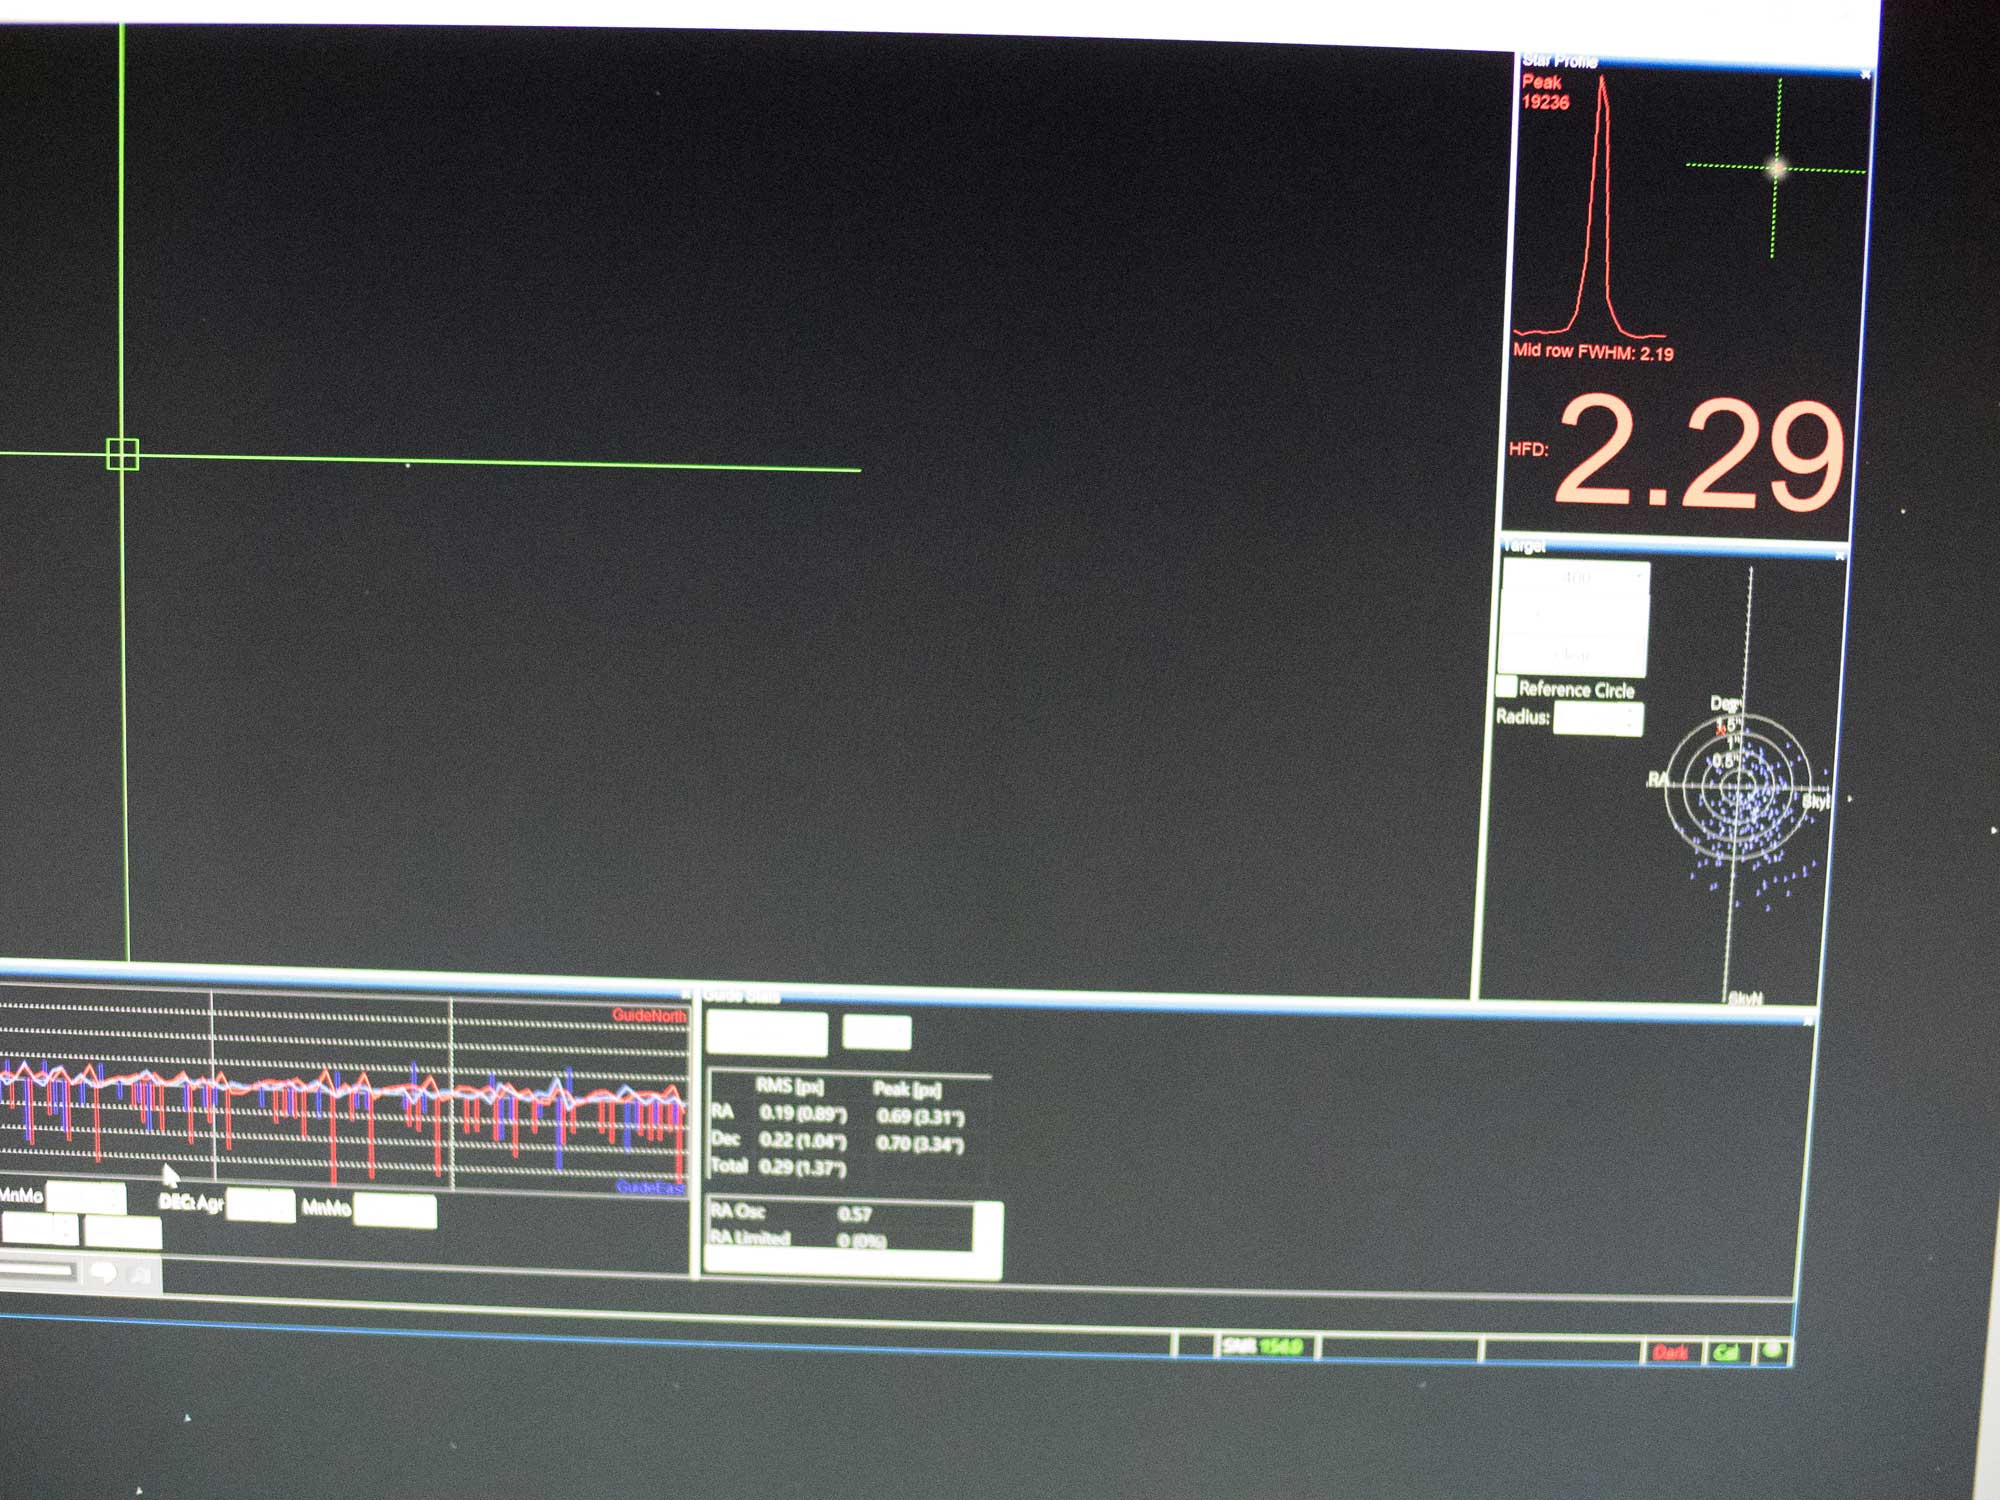
The Avalon Instruments M- Zero mount can be configured to take a variety of telescopes by moving/flipping the L-shaped bracket that almost looks like a boomerang. To take the somewhat heavy GTF102mm ‘scope, the L-bracket was positioned down one slot. The counter weight from my Star Adventurer mount was temporarily “borrowed” to help balance the mount/telescope configuration. The red dot finder was attached using a 3D printed bracket and it is used in conjunction with All Sky Plate Solver when plate solving. Imaging from my north facing balcony means I resort to using a compass and level to get rough polar alignment. Remarkably this is good enough for the M -Zero and PHD to track providing nice round stars with 3 minute subs.
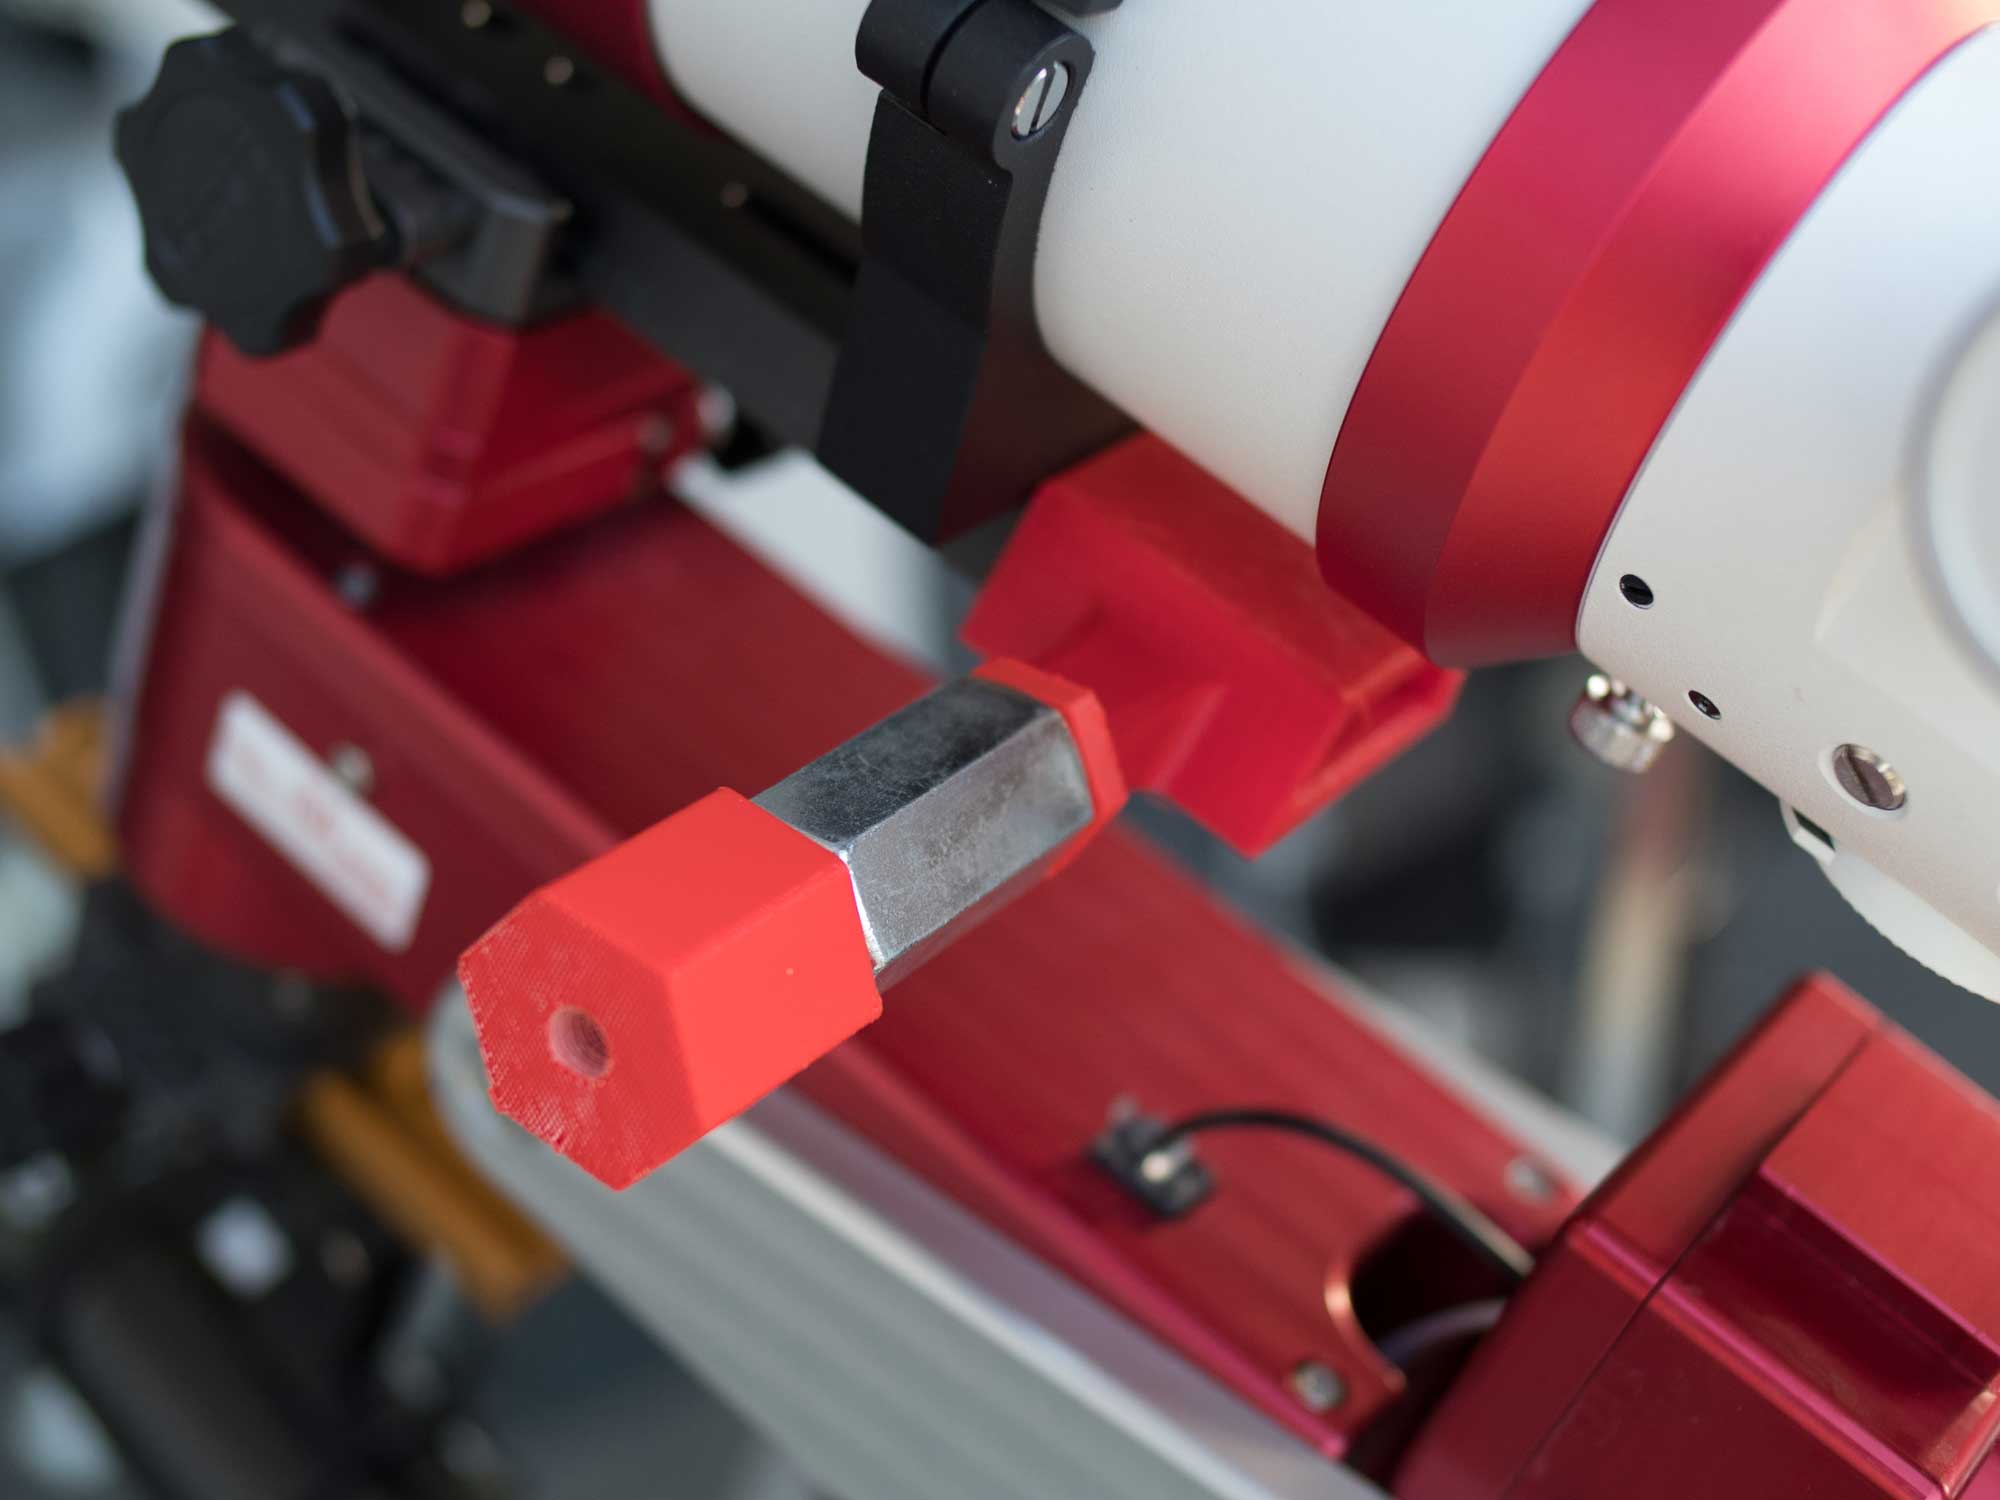
Balancing the telescope on the DEC axis involved designing and 3D printing an “out rigger” counterweight using my QIDI X-Plus printer. This included some 5/16″ threaded rod and a M10 hexagon coupler.
The next step is to design and 3D print a Bhatinov mask to aid in focusing.
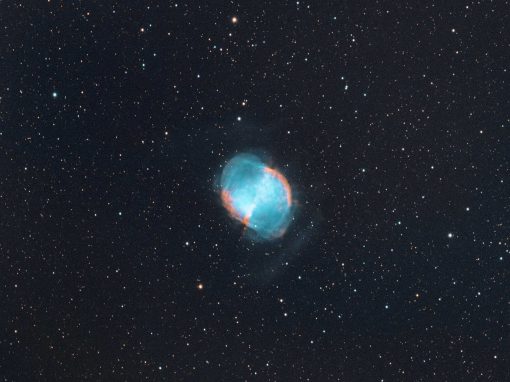
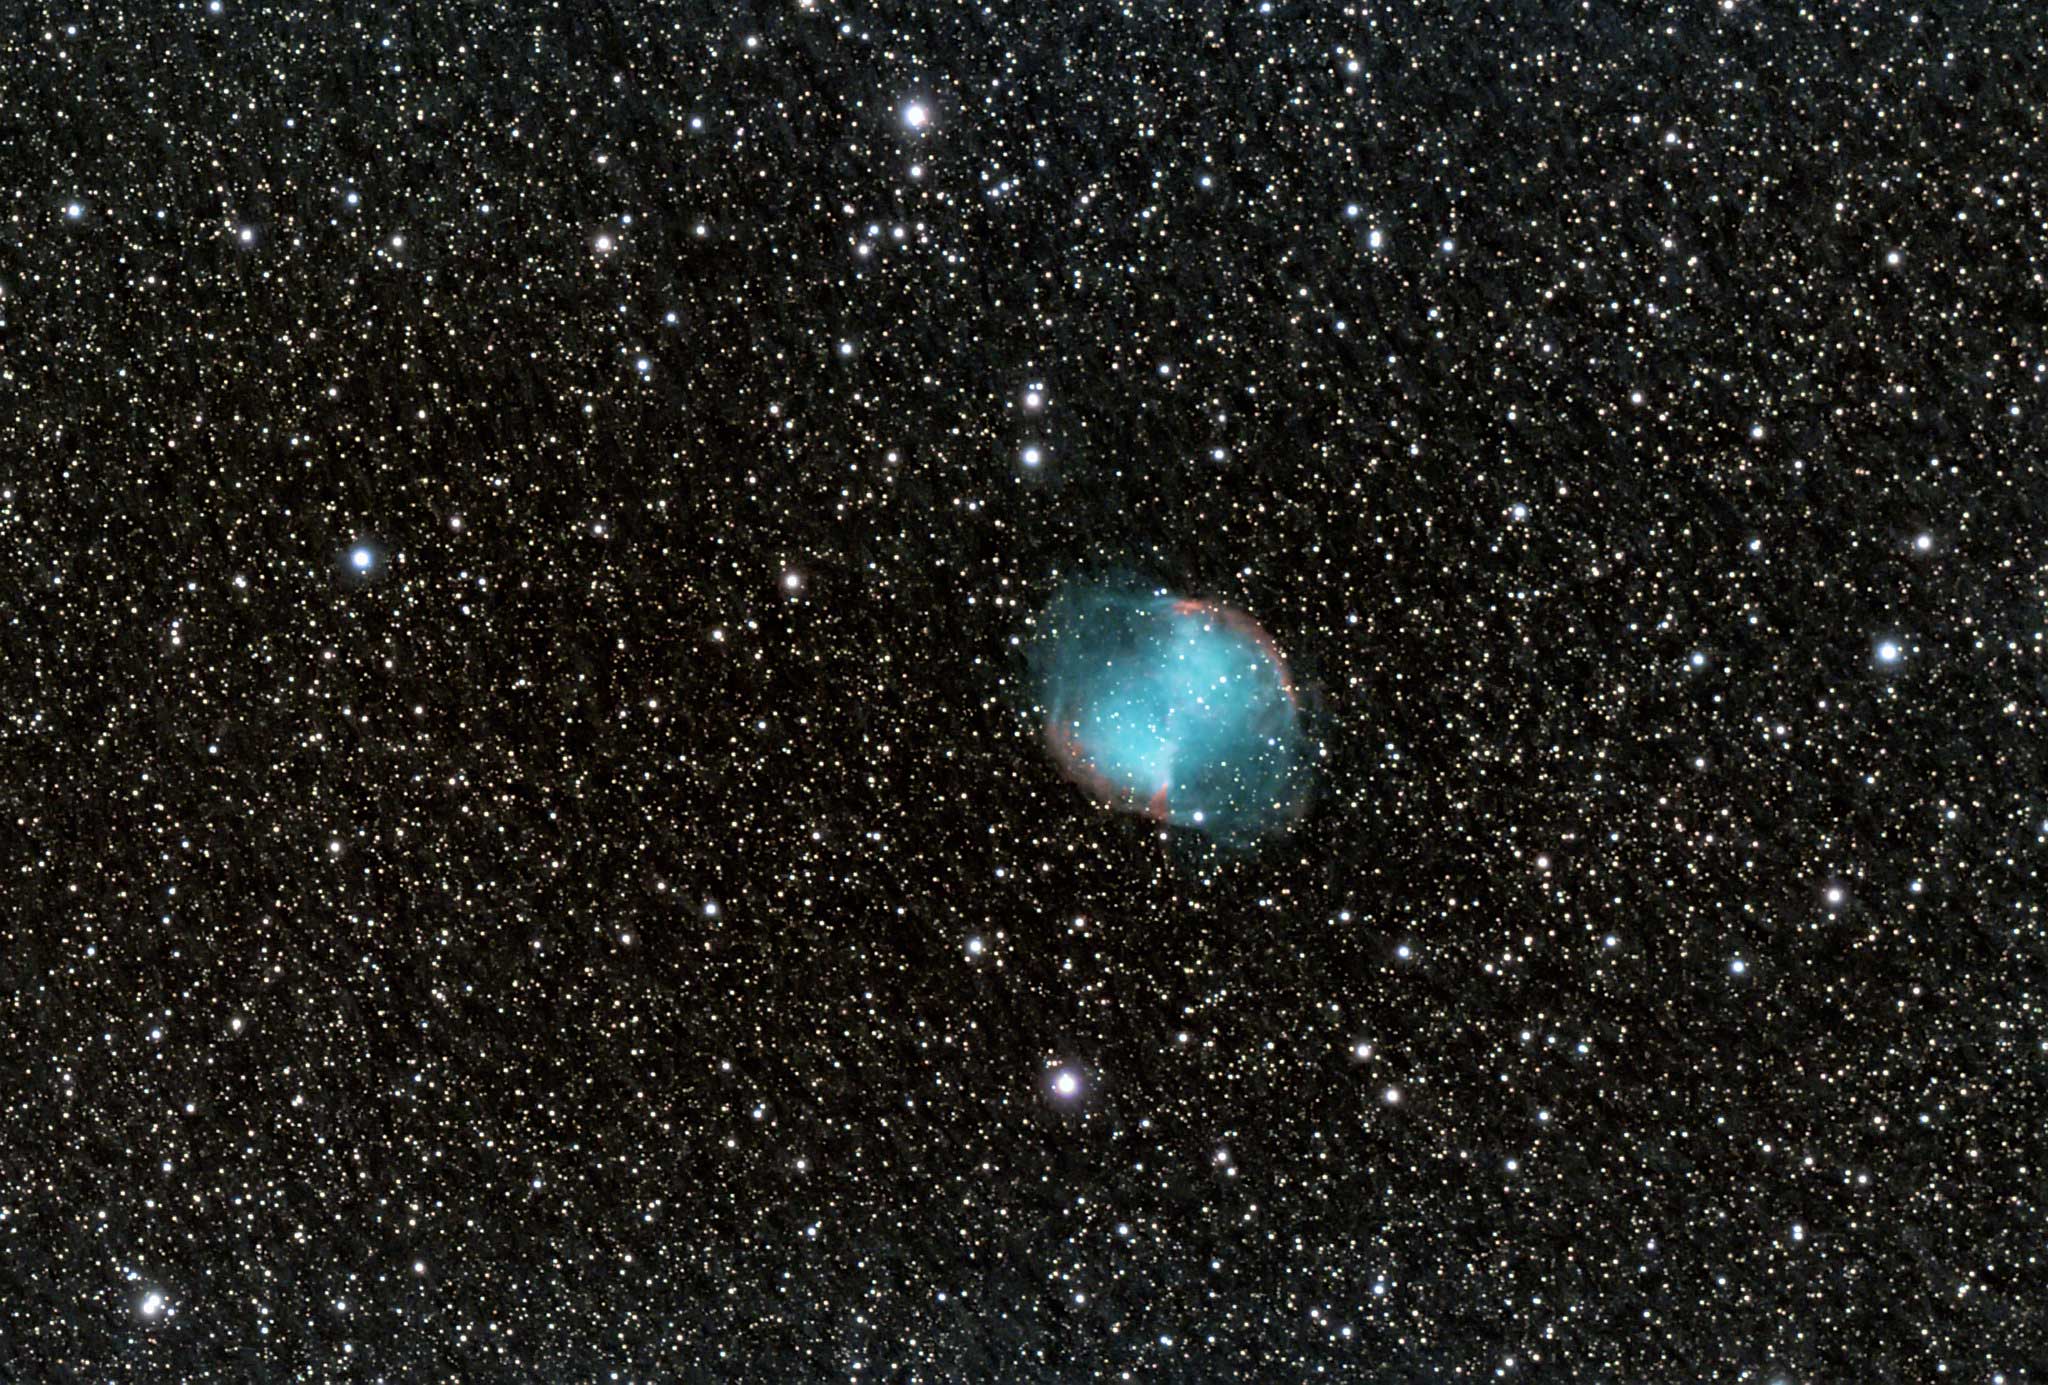
Imaging M27 – The Dumbbell Nebula in Vulpecula
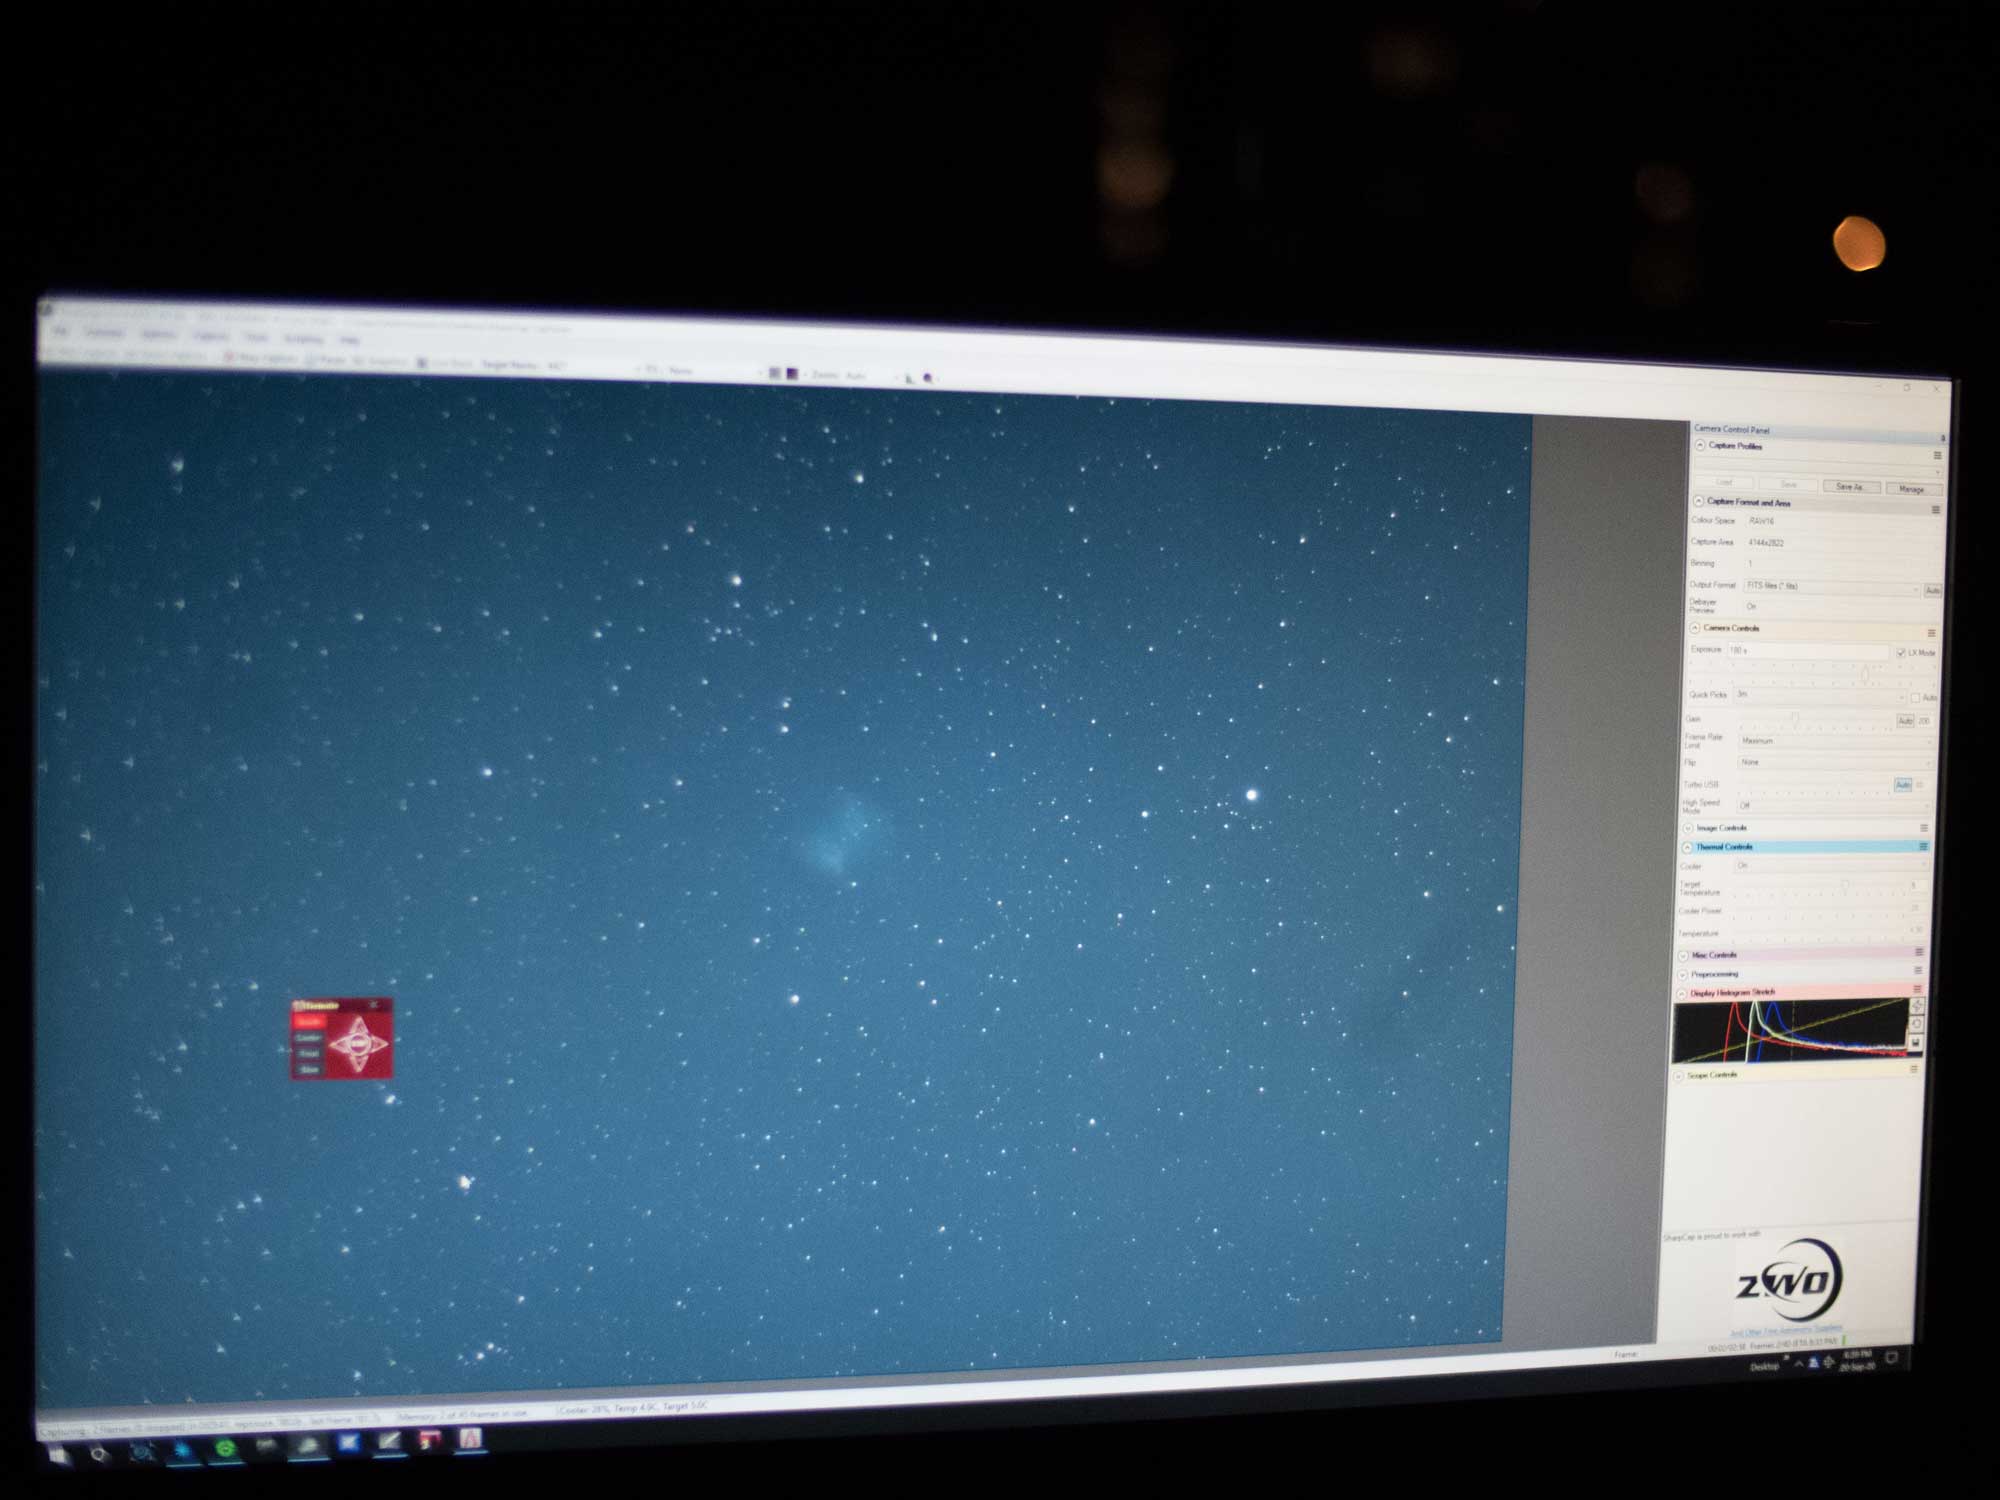
Once the scope was balanced on the mount it was time for astrophotography. M27, the Dumbbell Nebula was perfectly placed in the northern sky ready for imaging. With only a rough “analogue” polar alignment, the M Zero tracked beautifully providing perfectly round stars with 3 minute subs. Just under three hours of capture time was achieved until the clouds rolled in. I am looking forward to taking the gear to a local park with views to the south celestial pole where proper polar alignment with the PoleMaster can be performed.
Recent Images
